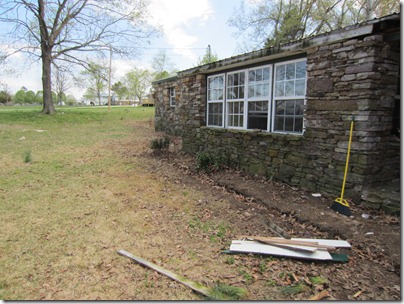
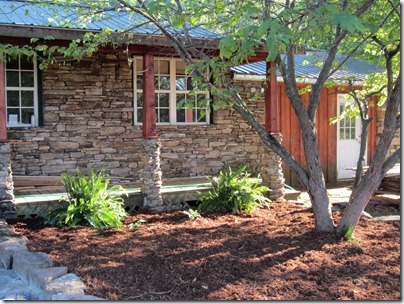
So, up until recently, the outside of our house has been something of a mess. It was a mess before we moved in, due to neglect and very dumb landscaping choices, but with all that we were doing inside we never got the chance to work on the outside.
Well, not anymore! We got kind of sick of driving into our drive with our house and yard looking like a construction zone. Plus, I was really wanting Andy to make me a raised garden bed. Really, though, we just got motivated to make it look nice!
It actually started way back in January with some unusually warm weather, and a little inspiration. If you haven’t noticed, our house has lots of rocks in and on it (hence, the blog name). And you know what? There are also lots and lots of rocks around our house…as in all over. Thus is how it began…with rocks that we already had.
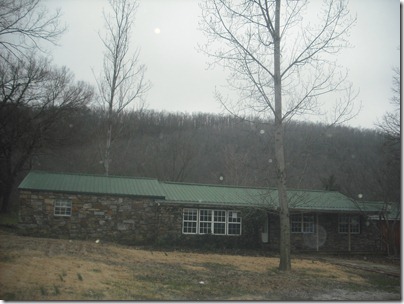
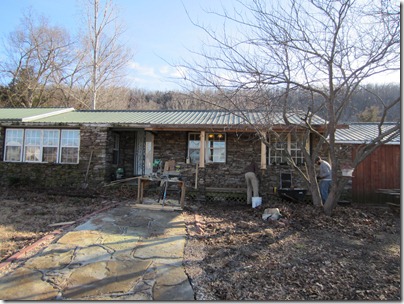
Our front porch is rather, well, boring. It just had plain wooden posts and and unstained deck. I was trying to find a good picture of it, but, alas, I it apparently was too plain and ugly for me to even want to take pictures! This is what the house looked like the first time we looked at it:
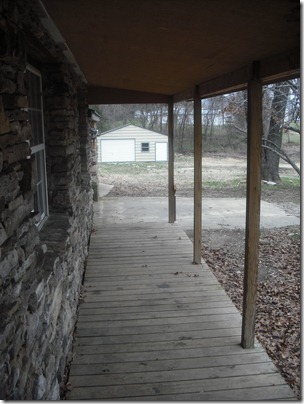
And here are the posts I’m talking about:
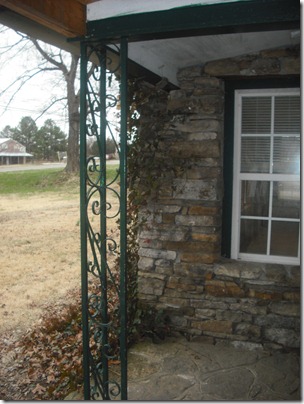
In addition to this really ugly post which was, in fact, blocking the view of the front door.
Everything was just disjointed, and the seams were additions were made were just blatantly obvious. So anyway, we also had some wood we’d bought an an auction last summer just lying around, so we decided to put it to good use.
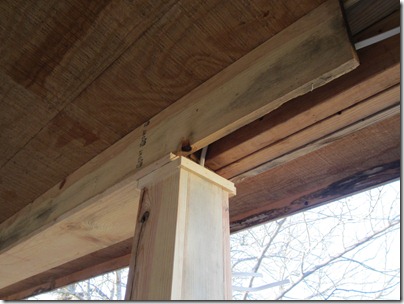
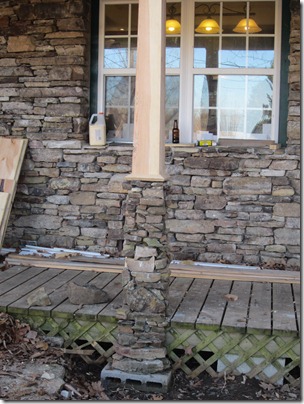
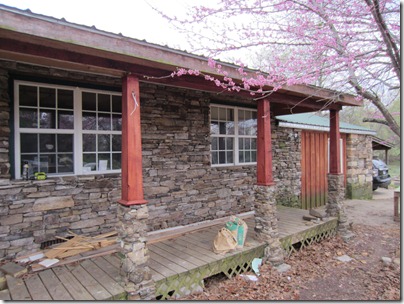
First, Andy built frames around the top of the posts.
As you can see, he also added trim pieces, redid the wood between the posts, and added wiring so we could put lights on the posts. Then he took the rocks we had lying around, plus a little mortar, to rock around the bottom. Here’s the finished product:
It looks like it was made to be there, right?
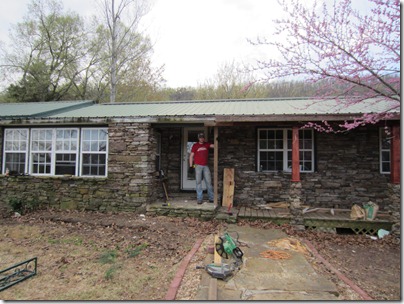
Here it is, starting to come together, with Andy and his friend Leo working on the rock.
I’ll add here that another motivation was to get rid of the wasps nest that plagued as last summer, and seal it up so that they’d never come back. Seriously, we were killing two birds with one stone!
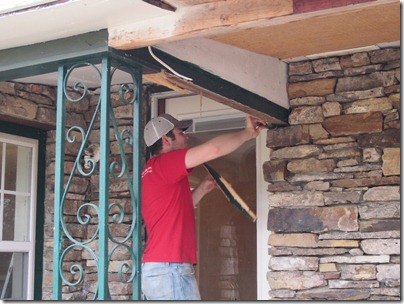
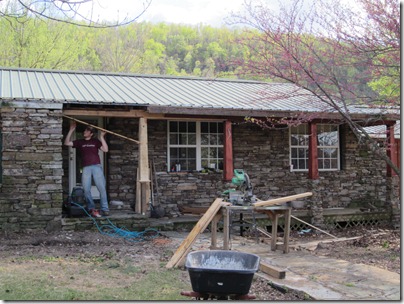
Next, Andy had to remove this ugly beam, which was so low people were hitting their heads.
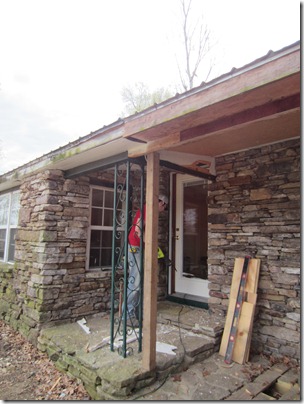
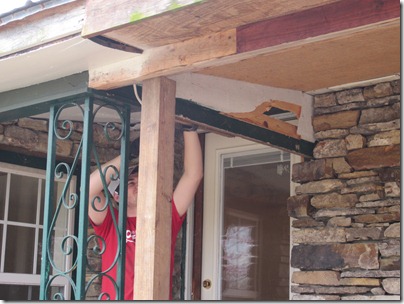
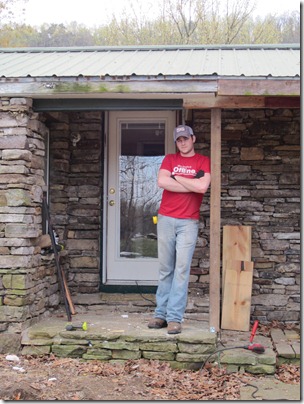
As you can guess, it was a relic of the original (or at least 2nd version of the ) house. Midway through, Andy decided to put a new post in first. Hence, the post in the picture.
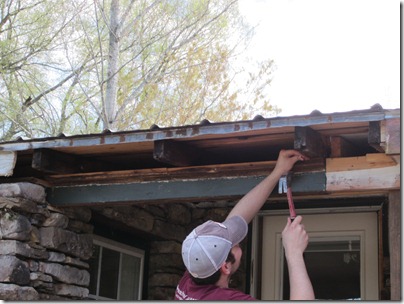
Then he finished tearing out the beam (which, thankfully, wasn’t load bearing). As you can tell, it was a pain.
Next, Andy cut out the ugly, iron post. Ta-da!
And then pulled off the old wood, which was rotting slightly (not sure what that piece is called).
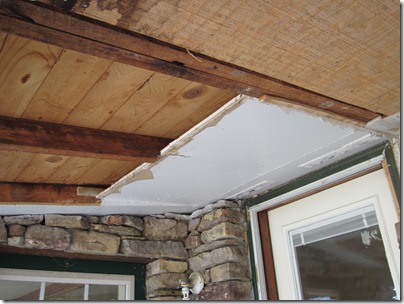
He also pulled off the plywood by the door, to make sure there weren’t any wasp’s nests or leaks in there. Turns out someone had put in sheetrock too. Oh, the things you find!
We also stained the wood a reddish color, which I love.
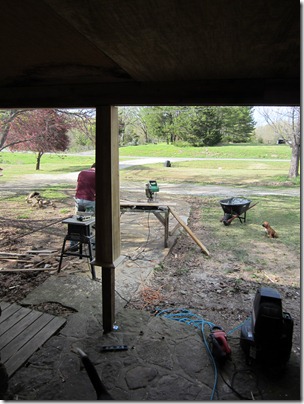
Andy then framed the new post up (and around it).
I love how much more open everything is from the front door!
What was I doing during all of this? Pulling the ivy off the front of the house. I liked the look of it, but it was climbing through the rocks and mortar, and really doing a lot of damage. So, bye-bye!
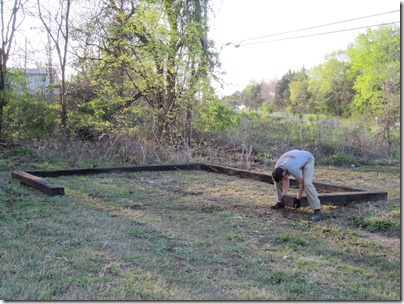
Next came the garden bed. Andy built me a nice, raised garden bed. I was so excited about it!
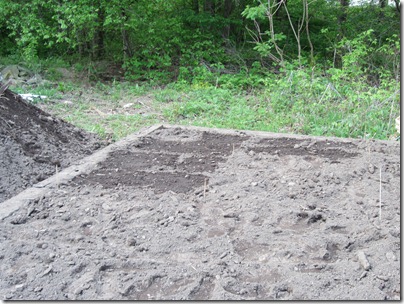
We were so thankful to finally be able to find some bulk top soil (after we looked forever-and-ever). It turned out to be way more than enough! It’s a start at least!
We had enough dirt to do the front beds as well!
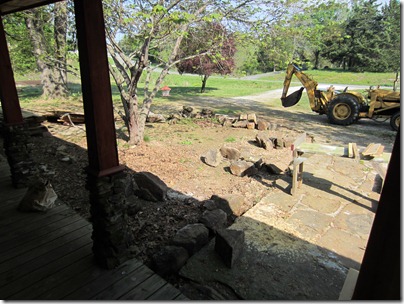
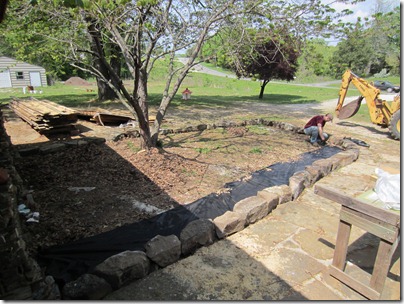
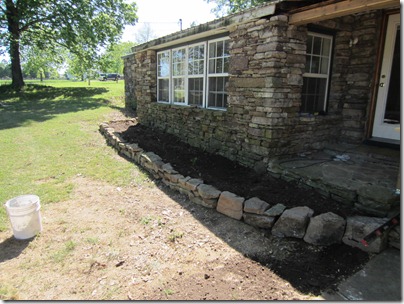
We so happened to have these giant rocks lining our driveway, so Andy took the backhoe and used them to create a new garden bed around our rosebud tree.
Then we lined the bed with a weed barrier.
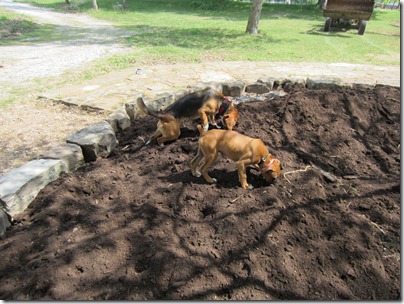
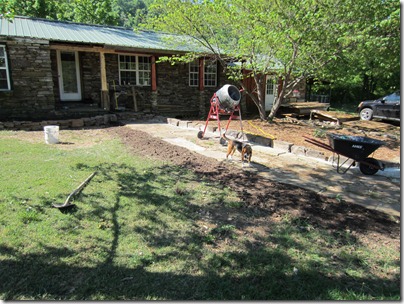
Next we filled it up with dirt. The dogs thought it was their own personal pile to play in!
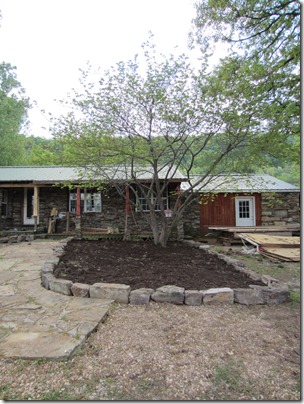
Already looking better!
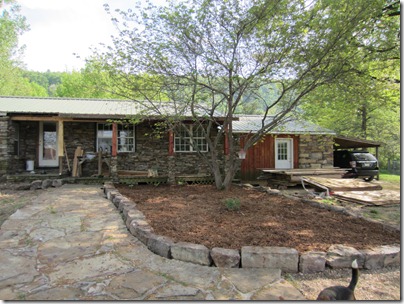
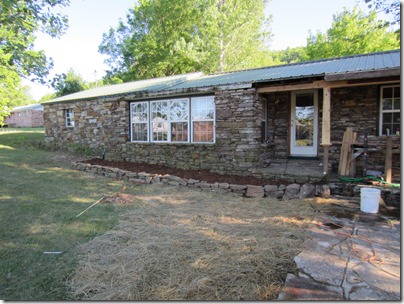
Then we put some natural mulch over the top.
Andy did the same in front of the living room.
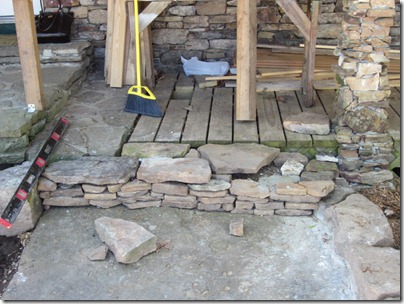
He also rocked in another step (as you can tell, the last post is still not done).
He also mortared along the path, between the rocks.
Finally, we re-seeded with grass seed along the path…
And then planted a few more plants. Isn’t is starting to look great?
Really, this didn’t cost us that much to do, because a lot of the supplies (like the rocks), we already had on hand. And it truly makes such a great difference in making our house feel like a home. Remember that, no matter what your house looks like on the inside, it’s the curb appeal that really counts. And you don’t have to do much! Pull up weeds, reseed with grass, put in a few flower beds, or just keep everything mowed and trimmed. All of this counts to show those who drive by you take pride in your home…and make it that much more appealing to guests.
*As a final note, we only added about an inch of topsoil and mulch around the rose bud tree. If you fill in more than about 2 inches of dirt around any tree, you'll actually kill the tree!
